The Invisible Stitch: How to Composite Multiple Exposures into One Perfect Product Shot
A single exposure cannot capture edge-to-edge sharpness in macro product photography. Focus stacking creates clean, tack-sharp visuals.
TechniquesPublished March 26, 20268 min readBy the Reframe Visuals editors
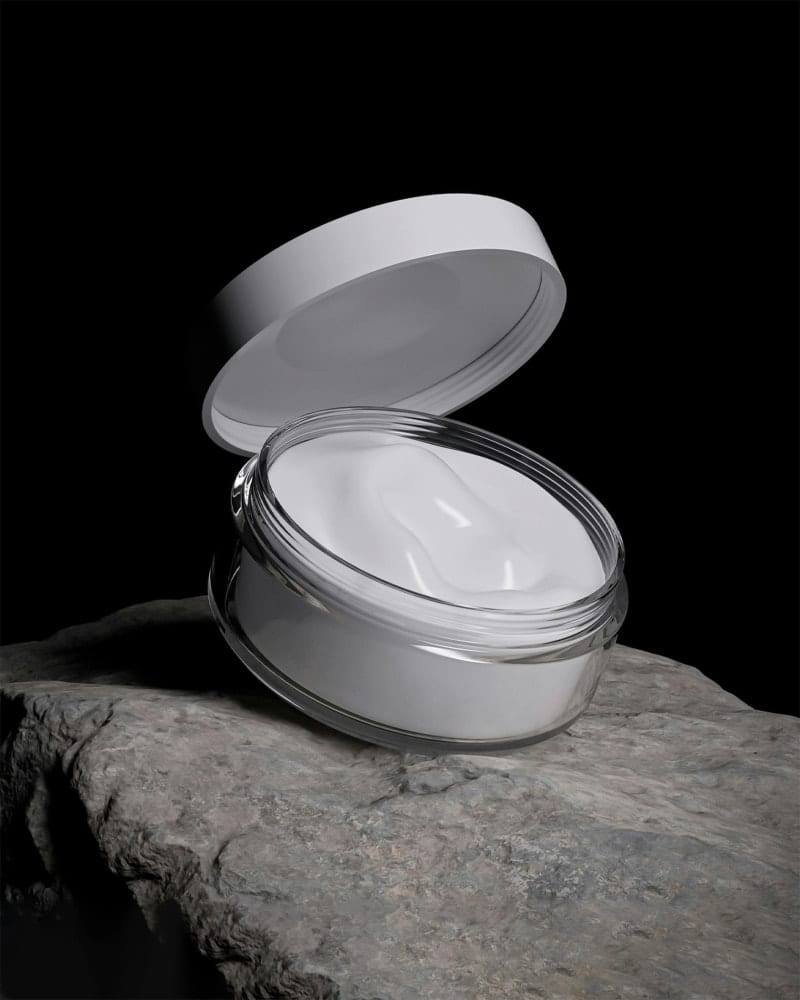
The Limitation of a Single Click
The human eye is a marvel of engineering. It constantly adjusts focus, exposure, and color perception in real-time, presenting us with a seamlessly sharp, perfectly exposed view of the world. A camera sensor, in contrast, makes one fixed decision per shutter click.
Want your product cutouts to look grounded rather than floating like stickers?
Add authentic natural, drop, or cast perspective shadows to your catalog images. Get 3 free sample shadow creations crafted by senior commercial retouchers.
The result: a single photograph always compromises. If the front of a jewelry piece is sharp, the back is blurry. If the highlights on metal are properly exposed, the dark leather strap is lost in shadow. If the red fabric is perfectly saturated, the blue trim is oversaturated.
Professional product photography solves this through compositing-combining multiple exposures into a single "impossible image" that represents what the eye sees, not what the camera captures.
Technique 1: Focus Stacking (Infinite Depth)
Problem it solves: In macro photography (jewelry, watches, small products), depth of field is razor-thin. At f/8 and close focus distance, you might have only 5mm of sharp focus.
The workflow:
- Mount the camera on a sturdy tripod. Lock everything.
- Set focus on the nearest point of the product. Take a shot.
- Move focus 2-3mm deeper. Take another shot.
- Repeat until the farthest point of the product is in focus.
- Import all frames into Photoshop > Auto-Align Layers > Auto-Blend Layers (Stack mode).
Photoshop analyzes each frame, identifies the sharp regions, and composites them into a single image where every point from front to back is in critical focus.
This is the standard workflow for our Jewelry Retouch projects. A diamond ring might require 15-30 stacked frames to achieve front-to-back sharpness that reveals every facet, every prong, and every surface detail.
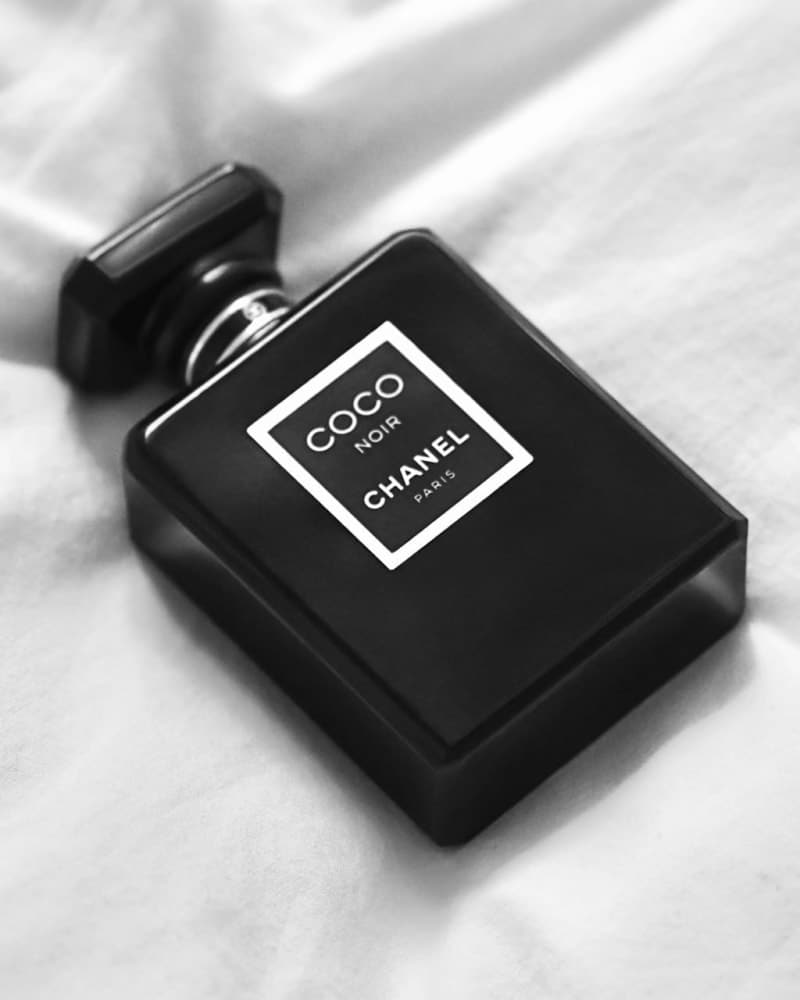
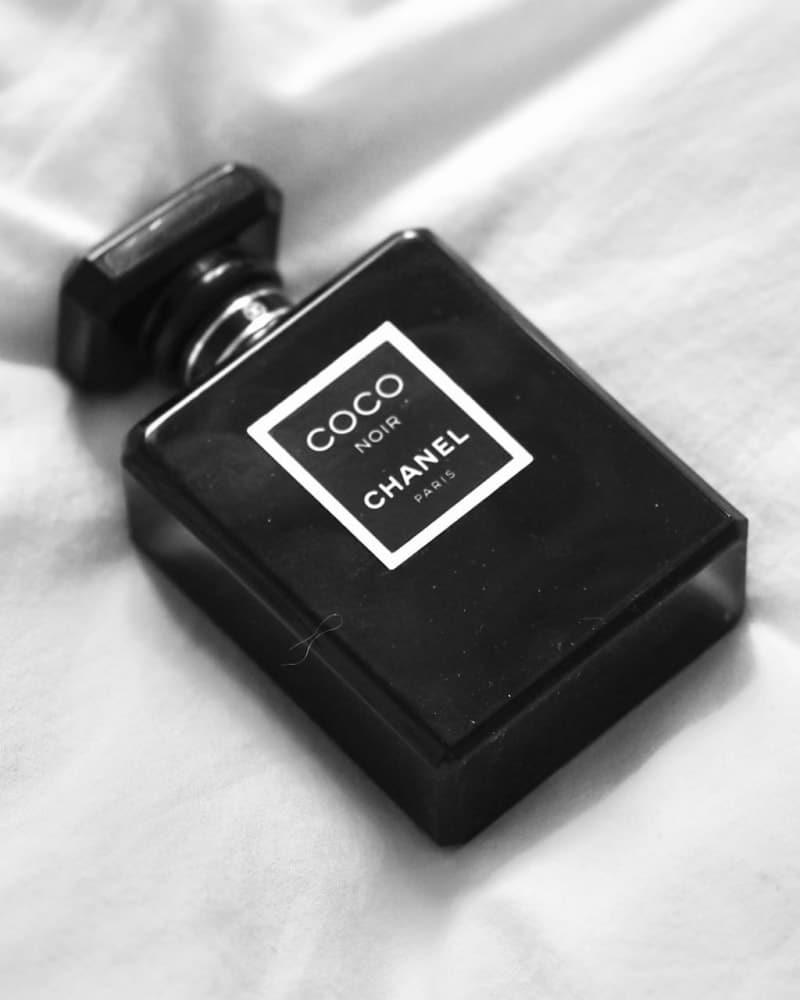
Technique 2: Exposure Blending (HDR Without the "HDR Look")
Problem it solves: Reflective products (metal, glass, glossy plastics) have extreme contrast ranges that exceed what a single exposure can capture.
The workflow:
- Take a "normal" exposure that captures the midtones correctly.
- Take an underexposed shot (-2 stops) that captures the highlight details (specular reflections on metal).
- Take an overexposed shot (+2 stops) that captures the shadow details (dark recesses, interior cavities).
- Blend the three using luminosity masks in Photoshop.
The key difference from "HDR photography" (which produces garish, hyper-real images): manual blending with luminosity masks preserves natural contrast. We don't compress the dynamic range-we selectively expand it only where needed.
Technique 3: Lighting Composites (The Studio Secret)
Problem it solves: A single lighting setup can never light every surface of a product perfectly. The front might be beautiful, but the sides are too dark. Or the top is great, but the bottom is lost.
The workflow:
- Light the product for the front. Take a shot.
- Move the light to illuminate the side. Take a shot.
- Move it to the top. Take a shot.
- Composite the three lighting passes, masking in the best-lit version of each surface.
This creates an image where every surface is illuminated by the "ideal" light for its angle-something physically impossible in a single exposure. It's the technique behind those impossibly perfect luxury watch advertisements where every dial marker, every crown detail, and every strap texture is flawlessly lit.
| Technique | Shots Required | Best For | Difficulty |
|---|---|---|---|
| Focus Stacking | 10-50 | Jewelry, watches, small products | Moderate |
| Exposure Blending | 3-5 | Reflective/metallic products | Moderate |
| Lighting Composite | 3-8 | Complex shapes, luxury goods | Advanced |
The Post-Production Reality
Compositing is where capture meets artistry. The camera provides the raw materials, but the editor creates the "impossible image." This requires:
- Pixel-perfect alignment between frames
- Seamless mask transitions where different exposures blend
- Color matching between shots taken at different settings
- Artifact cleanup at blend boundaries
Professional Retouching at this level transforms a collection of adequate photos into a single extraordinary image. It's the difference between showing a customer what your product looks like and showing them what it feels like.
- Focus Stacking: For infinite depth on small products.
- Exposure Blending: For taming reflective surfaces.
- Lighting Composites: For impossible illumination.
The perfect product photo doesn't exist in nature. It exists in the composite.
Get an exact price for your images.
Tell us your volume and the edits you need. We reply with a price, and you can send sample images to make it exact.