The Grid Illusion: Why Flat-Lay Photography Looks Effortless But Requires Engineering
Effortless flat-lays require precise geometric alignment and uniform diffusion. Master the overhead setups that elevate flat-lay catalogs.
TechniquesPublished February 14, 20268 min readBy the Reframe Visuals editors
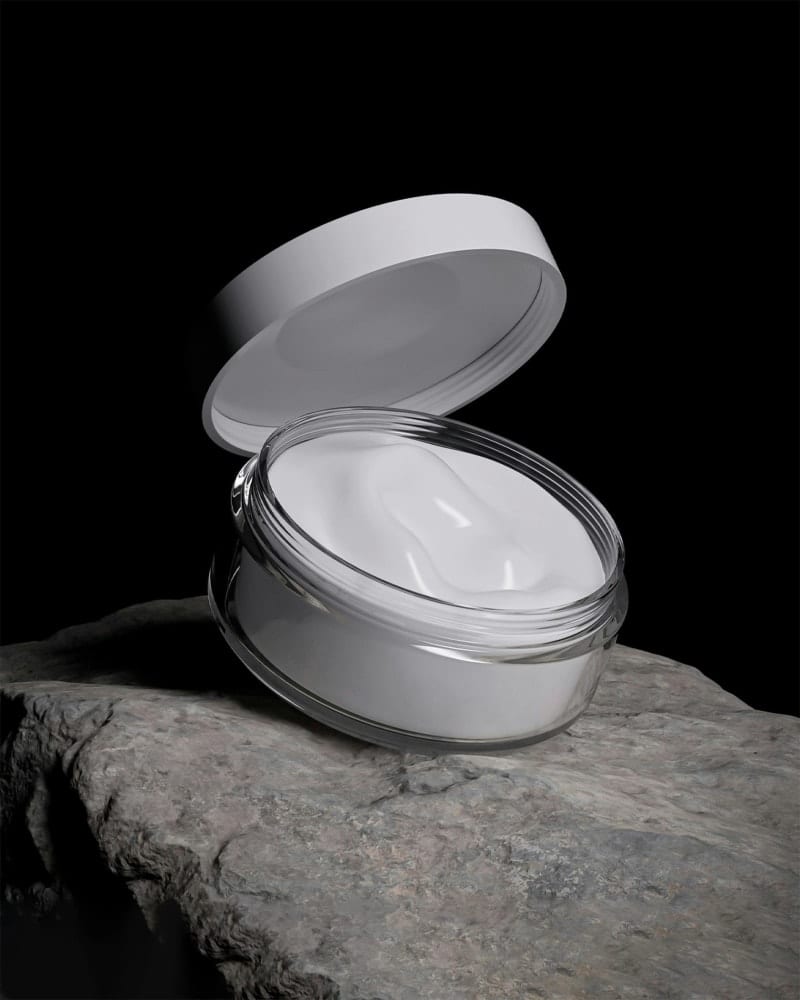
The "Casual" Lie
Scroll through Instagram and you'll see dozens of flat-lay photos that appear effortlessly styled-a watch next to a journal, surrounded by a coffee cup and scattered autumn leaves. It looks like someone placed these items on a table and snapped a photo.
Preparing an apparel catalog or seasonal collection drop?
Give your garments realistic 3D hollow-body volume, smooth collar symmetry, and pressed fabric without the model expense. Submit 3 test garments for free sample editing with 12h–72h turnaround.
The truth: that "effortless" arrangement took 30-45 minutes of careful positioning, dozens of micro-adjustments, and probably 50+ test shots before the final frame. Flat-lay photography is engineering disguised as spontaneity.
The Physics of Flat-Lay
Shooting directly downward (the "bird's eye" perspective) introduces unique challenges:
1. Lens Distortion Even high-end lenses produce slight barrel distortion that makes objects near the frame edges appear stretched. For flat-lays, use a focal length of 50mm or longer to minimize this effect. Wide-angle lenses (24-35mm) produce visually disturbing perspective warping.
2. Even Lighting Overhead shooting requires incredibly even illumination. Any lighting gradient across the surface will be visible as one corner appearing brighter than the other. Two lights at equal height and power, positioned at 45° on opposing sides, create the most even coverage.
3. Camera Alignment The camera sensor must be perfectly parallel to the surface. Even a 2° tilt will make objects appear to "lean" toward one edge. Use a bubble level on the tripod head or a tethered display with grid overlay to verify alignment.

The 5 Composition Frameworks
Professional flat-lay photographers use specific geometric frameworks:
1. The Grid Objects arranged on an invisible grid with equal spacing. Creates a sense of order and organization. Best for product collections, accessory sets, and "what's in my bag" content.
2. The Diagonal Objects arranged along a 45° diagonal line. Creates dynamic energy and visual flow. Best for editorial content and social media storytelling.
3. The Circle Objects arranged in a circular or spiral pattern around a central focal point. Creates a sense of unity and focus. Best for hero products with supporting accessories.
4. The Scatter Objects placed in a seemingly random but carefully balanced arrangement. Creates an organic, lifestyle feel. Best for Etsy, Pinterest, and brand storytelling.
5. The Minimalist One to three objects with generous negative space. Creates a premium, editorial feel. Best for luxury products and campaign imagery.
| Framework | Mood | Best For | Difficulty |
|---|---|---|---|
| Grid | Organized, systematic | Collections, sets | Medium |
| Diagonal | Dynamic, editorial | Social media, editorial | Medium |
| Circle | Focused, unified | Hero product features | Hard |
| Scatter | Organic, lifestyle | Etsy, Pinterest | Hardest |
| Minimalist | Premium, aspirational | Luxury, campaigns | Easy |
The Prop Hierarchy
In a flat-lay, every element must serve a purpose. The hierarchy:
1. The Hero (70% of visual weight) The primary product. It should be the largest, most centrally positioned, and most sharply focused element in the frame.
2. The Supporting Cast (20%) 2-3 items that establish context or tell a story. A watch next to a leather journal. A skincare product next to fresh botanicals. These items must not compete with the hero for attention.
3. The Texture Layer (10%) Background texture, scattered elements (coffee beans, fabric swatches, dried flowers), and negative space. These create visual interest without drawing focus.
The Post-Production Flat-Lay Workflow
After capture, flat-lay images require specific editing:
Perspective Correction: Even with careful alignment, minor lens perspective issues need correction. Use Photoshop's Lens Correction filter to ensure straight lines are truly straight.
Surface Cleanup: The flat surface shows every speck, fingerprint, and shadow. Background Removal principles apply-clean the surface to perfection.
Object Edge Refinement: Each item in the flat-lay needs clean edges where it meets the surface. Professional Clipping Path technique ensures no halos or artifacts around any object.
Color Consistency: All objects in the frame must share the same white balance. If items were shot at different times and composited, professional Color Correction matches them to a single temperature.
Shadow Enhancement: Flat-lay shadows are typically very subtle (the light source is above, so shadows fall directly beneath objects). Gentle Shadow Creation adds depth without the dramatic cast shadows of side-lit photography.
The Flat-Lay Compositing Secret
Here's a professional technique most brands don't know: the best flat-lays are often composited from multiple shots.
Each object is photographed individually on the surface, then combined in Photoshop. This allows:
- Perfect focus on every item (without depth-of-field issues)
- Independent positioning without physically touching other objects
- Easy swaps and rearrangements without re-shooting
- Consistent lighting on every element
A composited flat-lay of 8 objects might take 20 minutes to shoot and 30 minutes to composite-but the result is a level of precision that a single-shot approach can rarely achieve.
- Shoot at 50mm+ to avoid distortion.
- Light from both sides equally for flat illumination.
- Choose a framework before placing a single object.
- Consider compositing for maximum control.
The best flat-lay looks like it took 5 seconds to create. The real ones take 5 hours to perfect.
Get an exact price for your images.
Tell us your volume and the edits you need. We reply with a price, and you can send sample images to make it exact.